Monday, April 25, 2011

Spring Time Fun


A beautiful Sunday after Church!
As you see Maelee is tooth less!  Yes that happen a few weeks ago, but that is another blog!


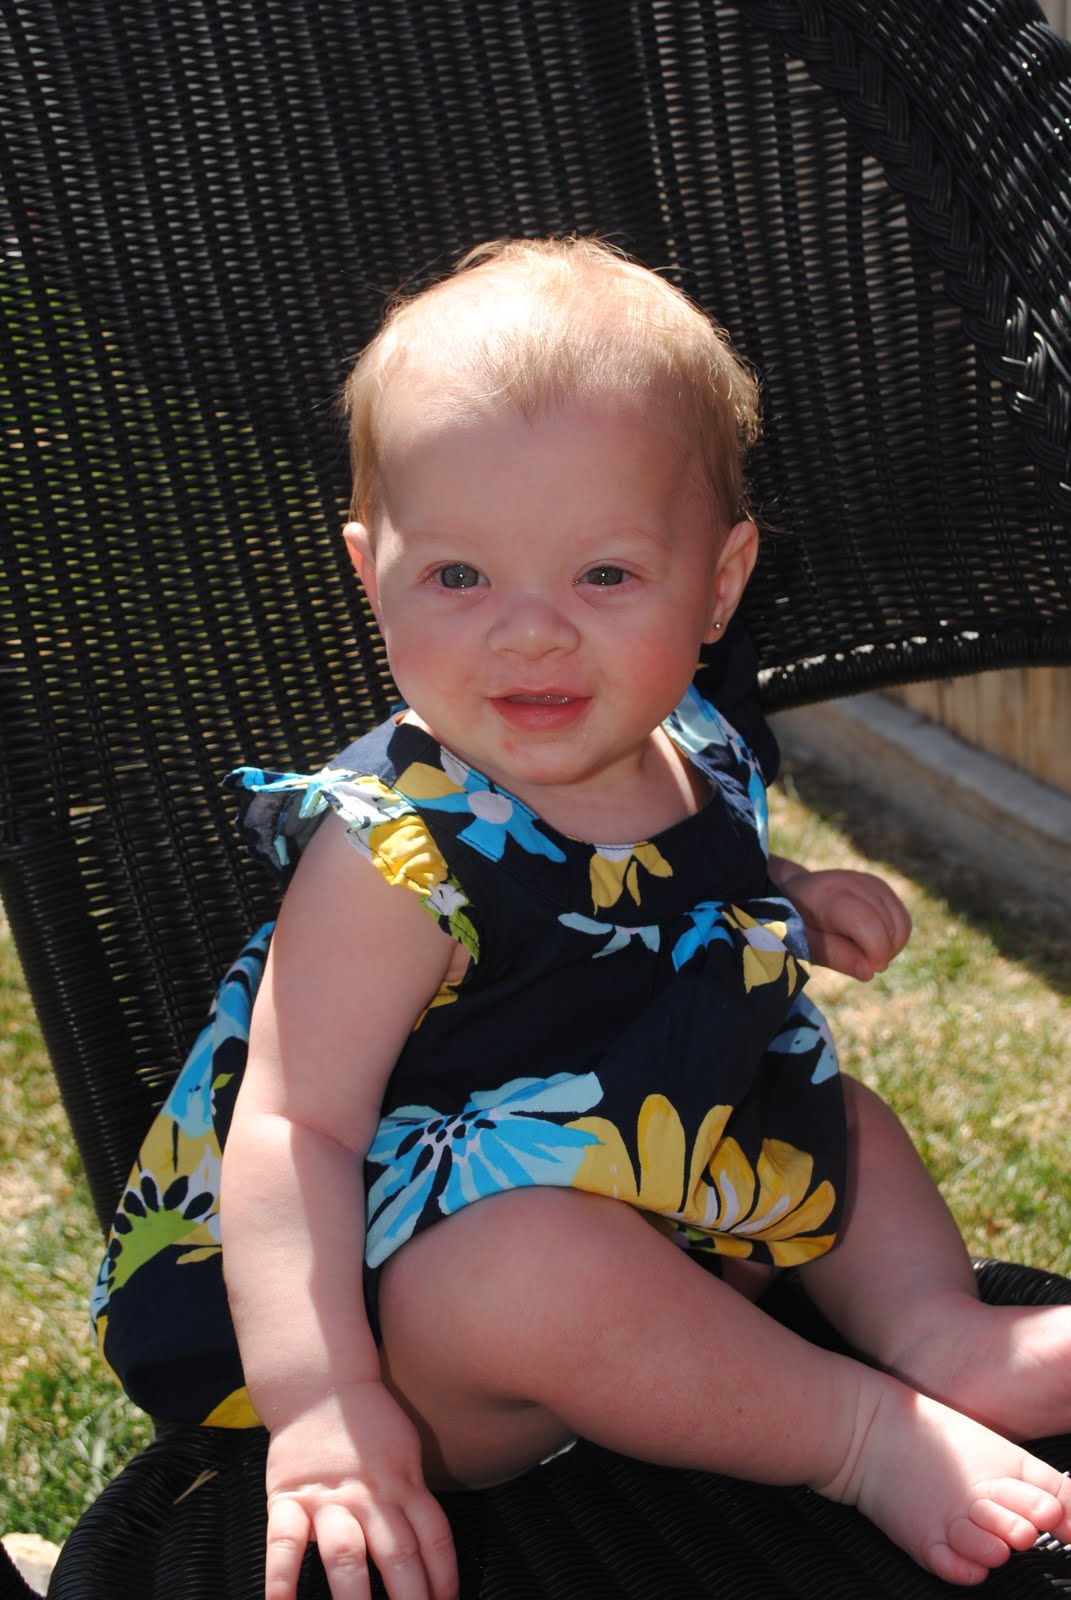
There are a few of these....  But she is just so cute I couldn't pick which one to post???


 One of my Angels!  I just couldn't stop....


 This so reminds me of Charlie's Angels.
"Hi Charlie"
There poses are priceless... And then their is Mary Richard like what is going on???


And here is Ashley and Rhinestone Cowboy lookin all pretty after church!


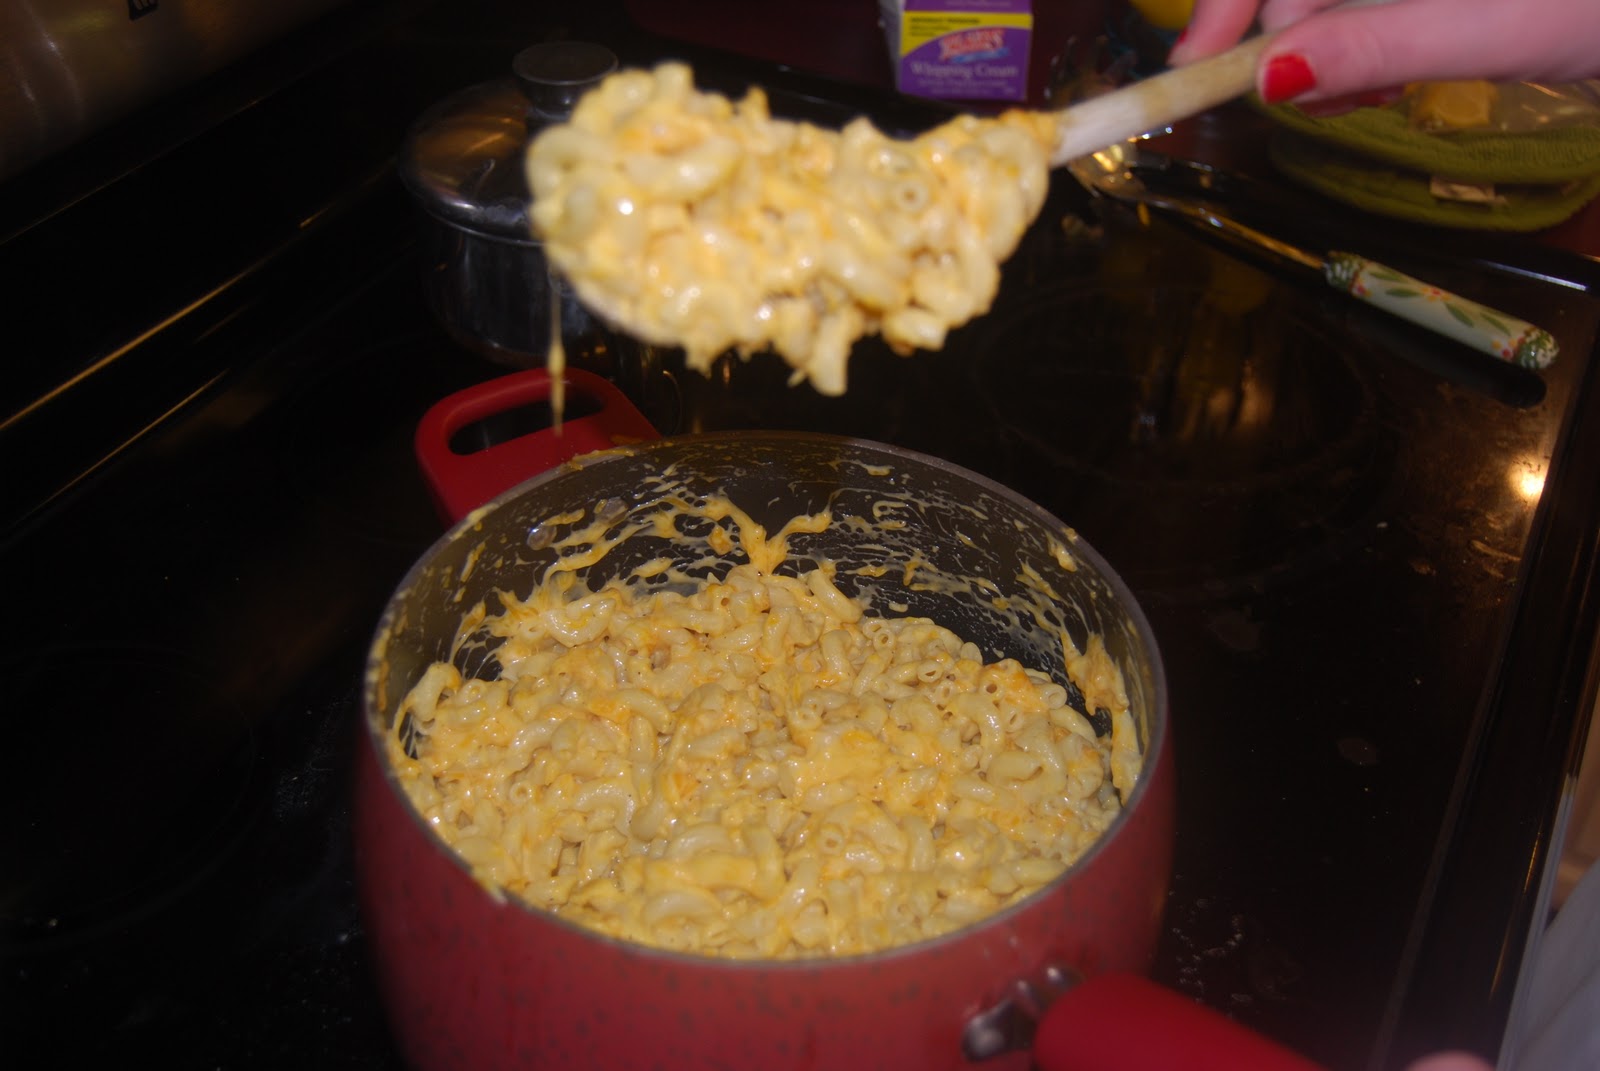
No family get-together is complete with out Pops doing all the cooking.
Yes, that is Boss Hog frying away.... Now you ask what is he frying????


Looking Good.... Almost ready


Give it a little shake


 Awww yes FRIED CHICKEN!!!!
Nothing says Southern like Fried Chicken on a Sunday after Church.


 Yelp, that would be Fried Okra too.
Too bad we don't have Okra patches in Texas like we did in Georgia!

 Fresh Squash 
Looks like Mr.Biggs already hit this bowl.

 Black Eye Peas.
Hmmmm Good
Hoggette was busy too!  She prepared all the fixing while Boss Hog fried the chicken.


 Is your mouth watering yet??
Gizzards
Boss Hogs Favorite 


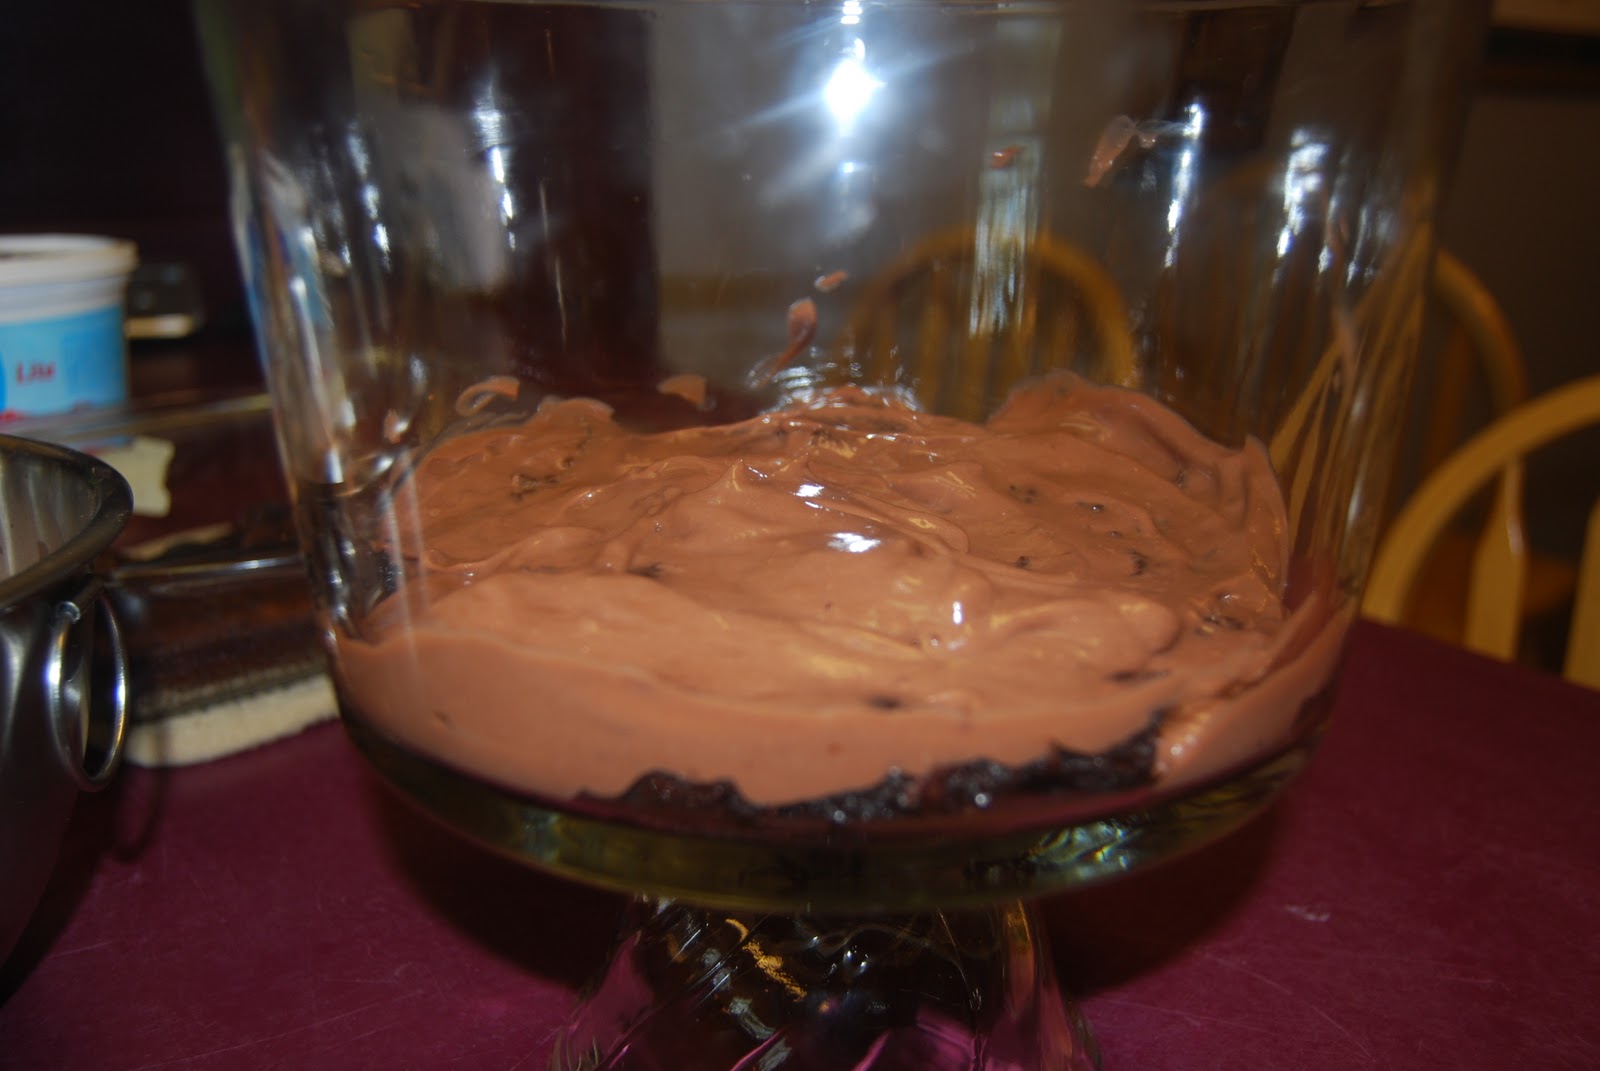
Of course Rhinestone Cowboy has to add good fun to everything.
I am not sure how it happen but I do know that he somehow got Cool-whip all in Ashley's hair.
Then the fight was on!


Priceless!


Wonderful Sunday afternoon with my wonderful family! Nap time

Saturday, April 23, 2011

Key Lime Cake


Key Lime Cake


Yesterday I went on Studio 4 TV and cooked a Key Lime Cake just in time for Easter!
This cake is so moist and taste just like a Key Lime Pie but even better!
This is one of those cakes that is just as pretty to serve as it is to taste!
Hope you enjoy it!
  
All the dry ingredients 

 1 3ounce package of lime-flavored gelatin
1 1/3 cup sugar
2 cups sifted flour
1/2 teaspoon salt
1 teaspoon baking powder
1 teaspoon baking soda

Stir all these together 


Mix in............  
5 slightly beaten eggs 


1 1/2 cups Vegetable Oil


1/2 teaspoon Vanilla Extract
and I left off a pic of 3/4 cups Orange Juice
But you know what Orange Juice looks like!  (remember I have 3 kids)

Mix all in and this mixture should be turning GREEN! 


 Now pour this mixture into 3 9inch greased pans and bake for 15 to 20 minutes at 350 degrees.
For the greased part I use Bakers Joy it works great on cakes

Now here comes the part that makes these cakes really MOIST!
Squeeze the juice from 20 to 25 Key Limes.  You want 1 cup of lime juice.


This is my Kitchen after squeezing  all of those limes.  
What you can't see is a 4yr old to my left begging to help and a 10 month of in the high chair across from me screaming for something to eat! 
And now this huge mess!!!!


Now mix together with a fork the lime juice with 1 cup confectioners' sugar.
Remove the hot cakes from the oven, put on a wire rack to cool and drizzle this lime mixture over the top while it is still HOT! The confectioners' sugar will melt down on this hot cake.
Then let it cool and icing the cake.

For the icing (which again there is no pics)
2 sticks room temperature butter
2 8oz packages cream cheese room temperature 
1 16 oz Box of confectioner's sugar
Cream all of these items together and spread on the cake!

Perfect!
Hope you all enjoy this wonderful cake and I hope you all have a glorious EASTER!  I know we will my oldest is getting Baptized and we couldn't ask for a more special and proud day.  

Here is the link to me cooking on Studio 4

Wednesday, April 20, 2011

Guess What I Baked?

Yesterday, I baked a cake for one of my friends.  His birthday was yesterday and he had been asking for this "particular" cake for 2 months.  Can you guess what cake it was?   I'll give you 2 clues.  

Clue #1


Clue #2


I baked the "Secret" Banana Cake.  We blogged about this cake several months ago.  It's top secret because the recipe will NEVER be revealed!  It's my grandmother's recipe and it took her 22 years to share it with me.   Maybe one day you will all get a chance to have a piece of the TOP SECRET Banana Cake! 


Did you guess it right?!?!?

Monday, April 18, 2011

Slap yo Mama! Mac n' Cheese

Ok, I usually don't brag about my food but I have to say that my macaroni and cheese recipe is the best I've ever had.  I thought Pioneer Woman's was the best, but it has a lot of steps.  If you need Mac N' Cheese in a hurry use this recipe.  It's fast, simple, and super cheesy!  

We are cheese folks!  WE LOVE SOME CHEESE!  So, if you're like us, this Mac N' Cheese is for you!  

Ingredients:  
1 pint whipping cream
8 oz. block of cheddar cheese ( or any other cheese you prefer)
1/2 stick of butter
1 - 1 1/2 cups of bag shredded cheese
1/2 lb of macaroni noodles 
salt and pepper to taste

NOTE: I don't ever use a whole pound of noodles because we can never eat them between the two of us.  So, if you are making for more than 4-5 people I would suggest using the whole bag of noodles and alter the recipe to fit the whole bag.  


Shredding your own cheese is so much better than getting it out of the bag.  Pioneer Woman swears by it and I have to believe her!  It makes everything so cheesy! So, get your arm muscles ready and shred a half pound of cheese.  

Boil your noodles until "al dente."  


Then, drain them in a colander.  


Pour your noodles back in your original pot while they are still hot.  Make sure to take the pot off of the stove.  Cut up the butter into several pieces, and stir until the butter is nearly melted and all of the noodles are shining with butter.  


Now, add in that HAND shredded cheese.  It's the best part!  Stir until melted.  


Add some of your whipping cream into the noodles and give it a stir.  


It's just not cheesy enough so we must put in about two handfuls of the BAG shredded cheese.  Again, you can use any cheese you want.  I usually try to stick with cheddar and monterey jack cheeses.  


Add some the rest of the whipping cream ands stir until all of the cheese is melted.  You may need to add some regular milk to your macaroni and cheese if it starts to get dry.  

Doesn't this look yummy!!!!


Add salt...


And pepper to taste. 


I had my sister taking pictures of me making this while she was here for spring break.  When she tasted the macaroni and cheese she said, "This will make you wanna slap yo mama!"  Hence, that is where the name came from!  


While I was inside "slapping my mama" over the Mac N' Cheese, Drew was outside grilling pork chops!  We had such a wonderful supper that night with my mom and sister.  It was perfect!  


Saturday, April 2, 2011

Brownie Trifle

Some of you may already know this recipe.  It's super easy and so delicious!  I have been wanting this for a week now, but I would not let myself make it because I know what will happen....I WILL EAT IT ALL BY MYSELF!  But anyways, it's Saturday and I'm spending my day studying.  To keep me occupied from studying, I decided that I HAD to make the brownie trifle.  

This dessert is great for dinner parties, potluck, birthdays, or just a Saturday night dessert/midnight snack! ;)  
It's pretty and simple all at the same time. 

Here are the ingredients:  1 box of brownie mix (I prefer Chocolate chunk), 1 bag of milk chocolate toffee bits, 1 box instant chocolate pudding mix, 1-16 oz. cool whip

                          Follow the recipe on the back of the brownie box and cook accordingly. 

I cooked my brownies in an 8x8 glass pan, but it is up to you how you want to cook them.  The thickness of the brownies does not matter because they will be torn apart to make the trifle.  

While your brownies are cooking in the oven, mix up your instant chocolate pudding mix according to the directions.  It requires 2 cups of cold milk, whisk for 2 minutes, and then refrigerate to allow to set.  

Easy enough, huh?!?!?  


Once the brownies are done, allow them to cool.   Get out a trifle bowl or any other serving piece you would like to use. 

1st step: Tear brownies apart and create the first layer on the bottom of the trifle. 

2nd step: Spread the chocolate pudding on top of the brownies.  You want to use good judgement when spreading the pudding because one box is just enough for this recipe. Some people may even want to use two boxes of pudding mix if they like extra pudding or want thicker layers. 


3rd Step: Sprinkle the milk chocolate toffee bits on top of the chocolate pudding.  You want it to cover the pudding.  

4th Step: This is the last step.  You spread a generous amount of cool whip on top of the toffee bits.  


REPEAT!

Now, you are going to repeat everything you just did 2 more times. So, next would be the brownies (Step 1).   


When you have finished all of the layers, top it off with the cool whip and add some more toffee bits.  


Here is the trifle all completed.  


When it is finished, cover and put in the refrigerator for a couple of hours. 

I hope you and your family enjoy this simple, delicious dessert as much as we do! 

Try it tonight!  


The Sister-in-Laws

The Sister-in-Laws
Dia and Ashley